鸿蒙开发
准备工作
1. 下载和安装
2. 文档地址
https://developer.huawei.com/consumer/cn/doc/
3. 设置为中文
- 打开DevEco Studio,点击顶部菜单栏的“File”(文件)选项。
- 在下拉菜单中选择“Settings”(设置)。
- 在弹出的窗口的左侧菜单栏中选择“Plugins”(插件),然后在右侧选择“Installed”。
- 在搜索框输入“Chinese”,勾选相应的中文语言包,点击“Apply”(应用),之后点击“OK”。
- 选择“Restart”(重启)编译器。
- 再次进入后,页面的内容就变为中文了。
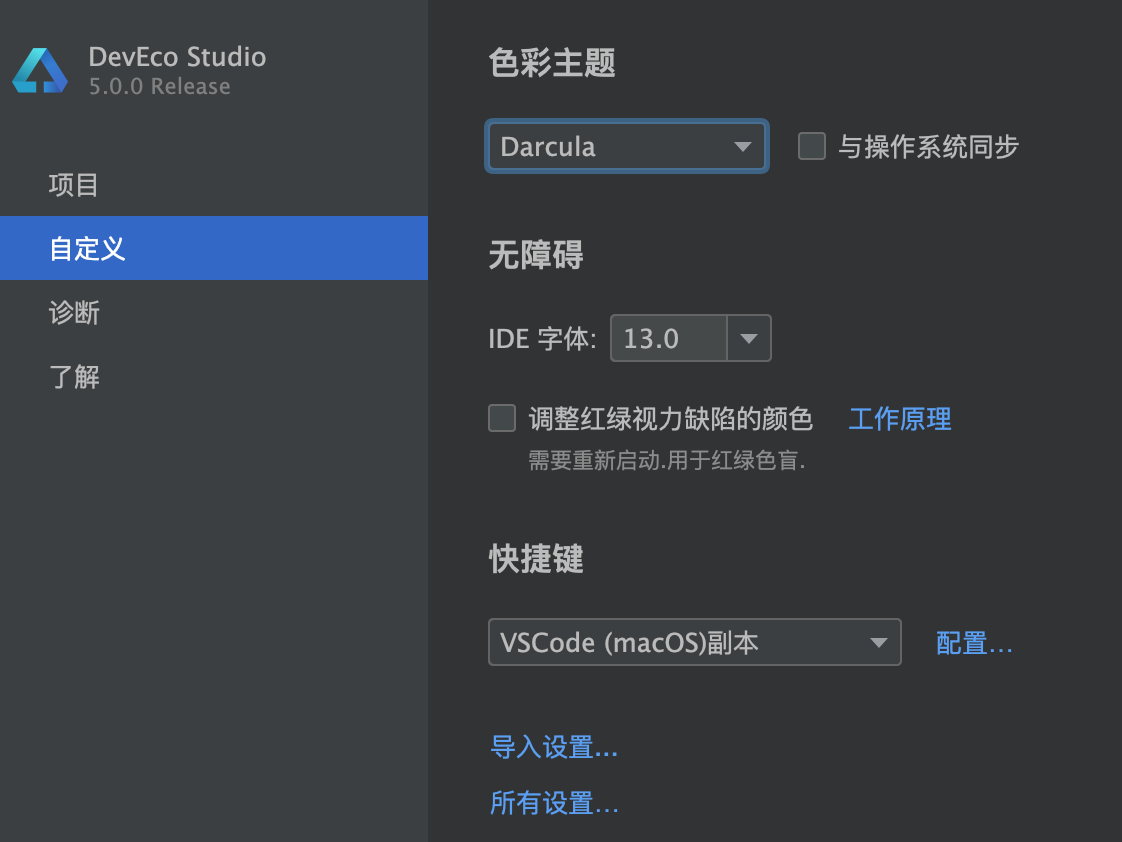
4. 快捷键
安装vscode插件
在设置->快捷键->选择vscode即可

(一) 创建项目&页面
文件 =》 新建项目 =》 选第一个 =》 下一步直到完成
1. 入口和源码
- entry
- src
- pages
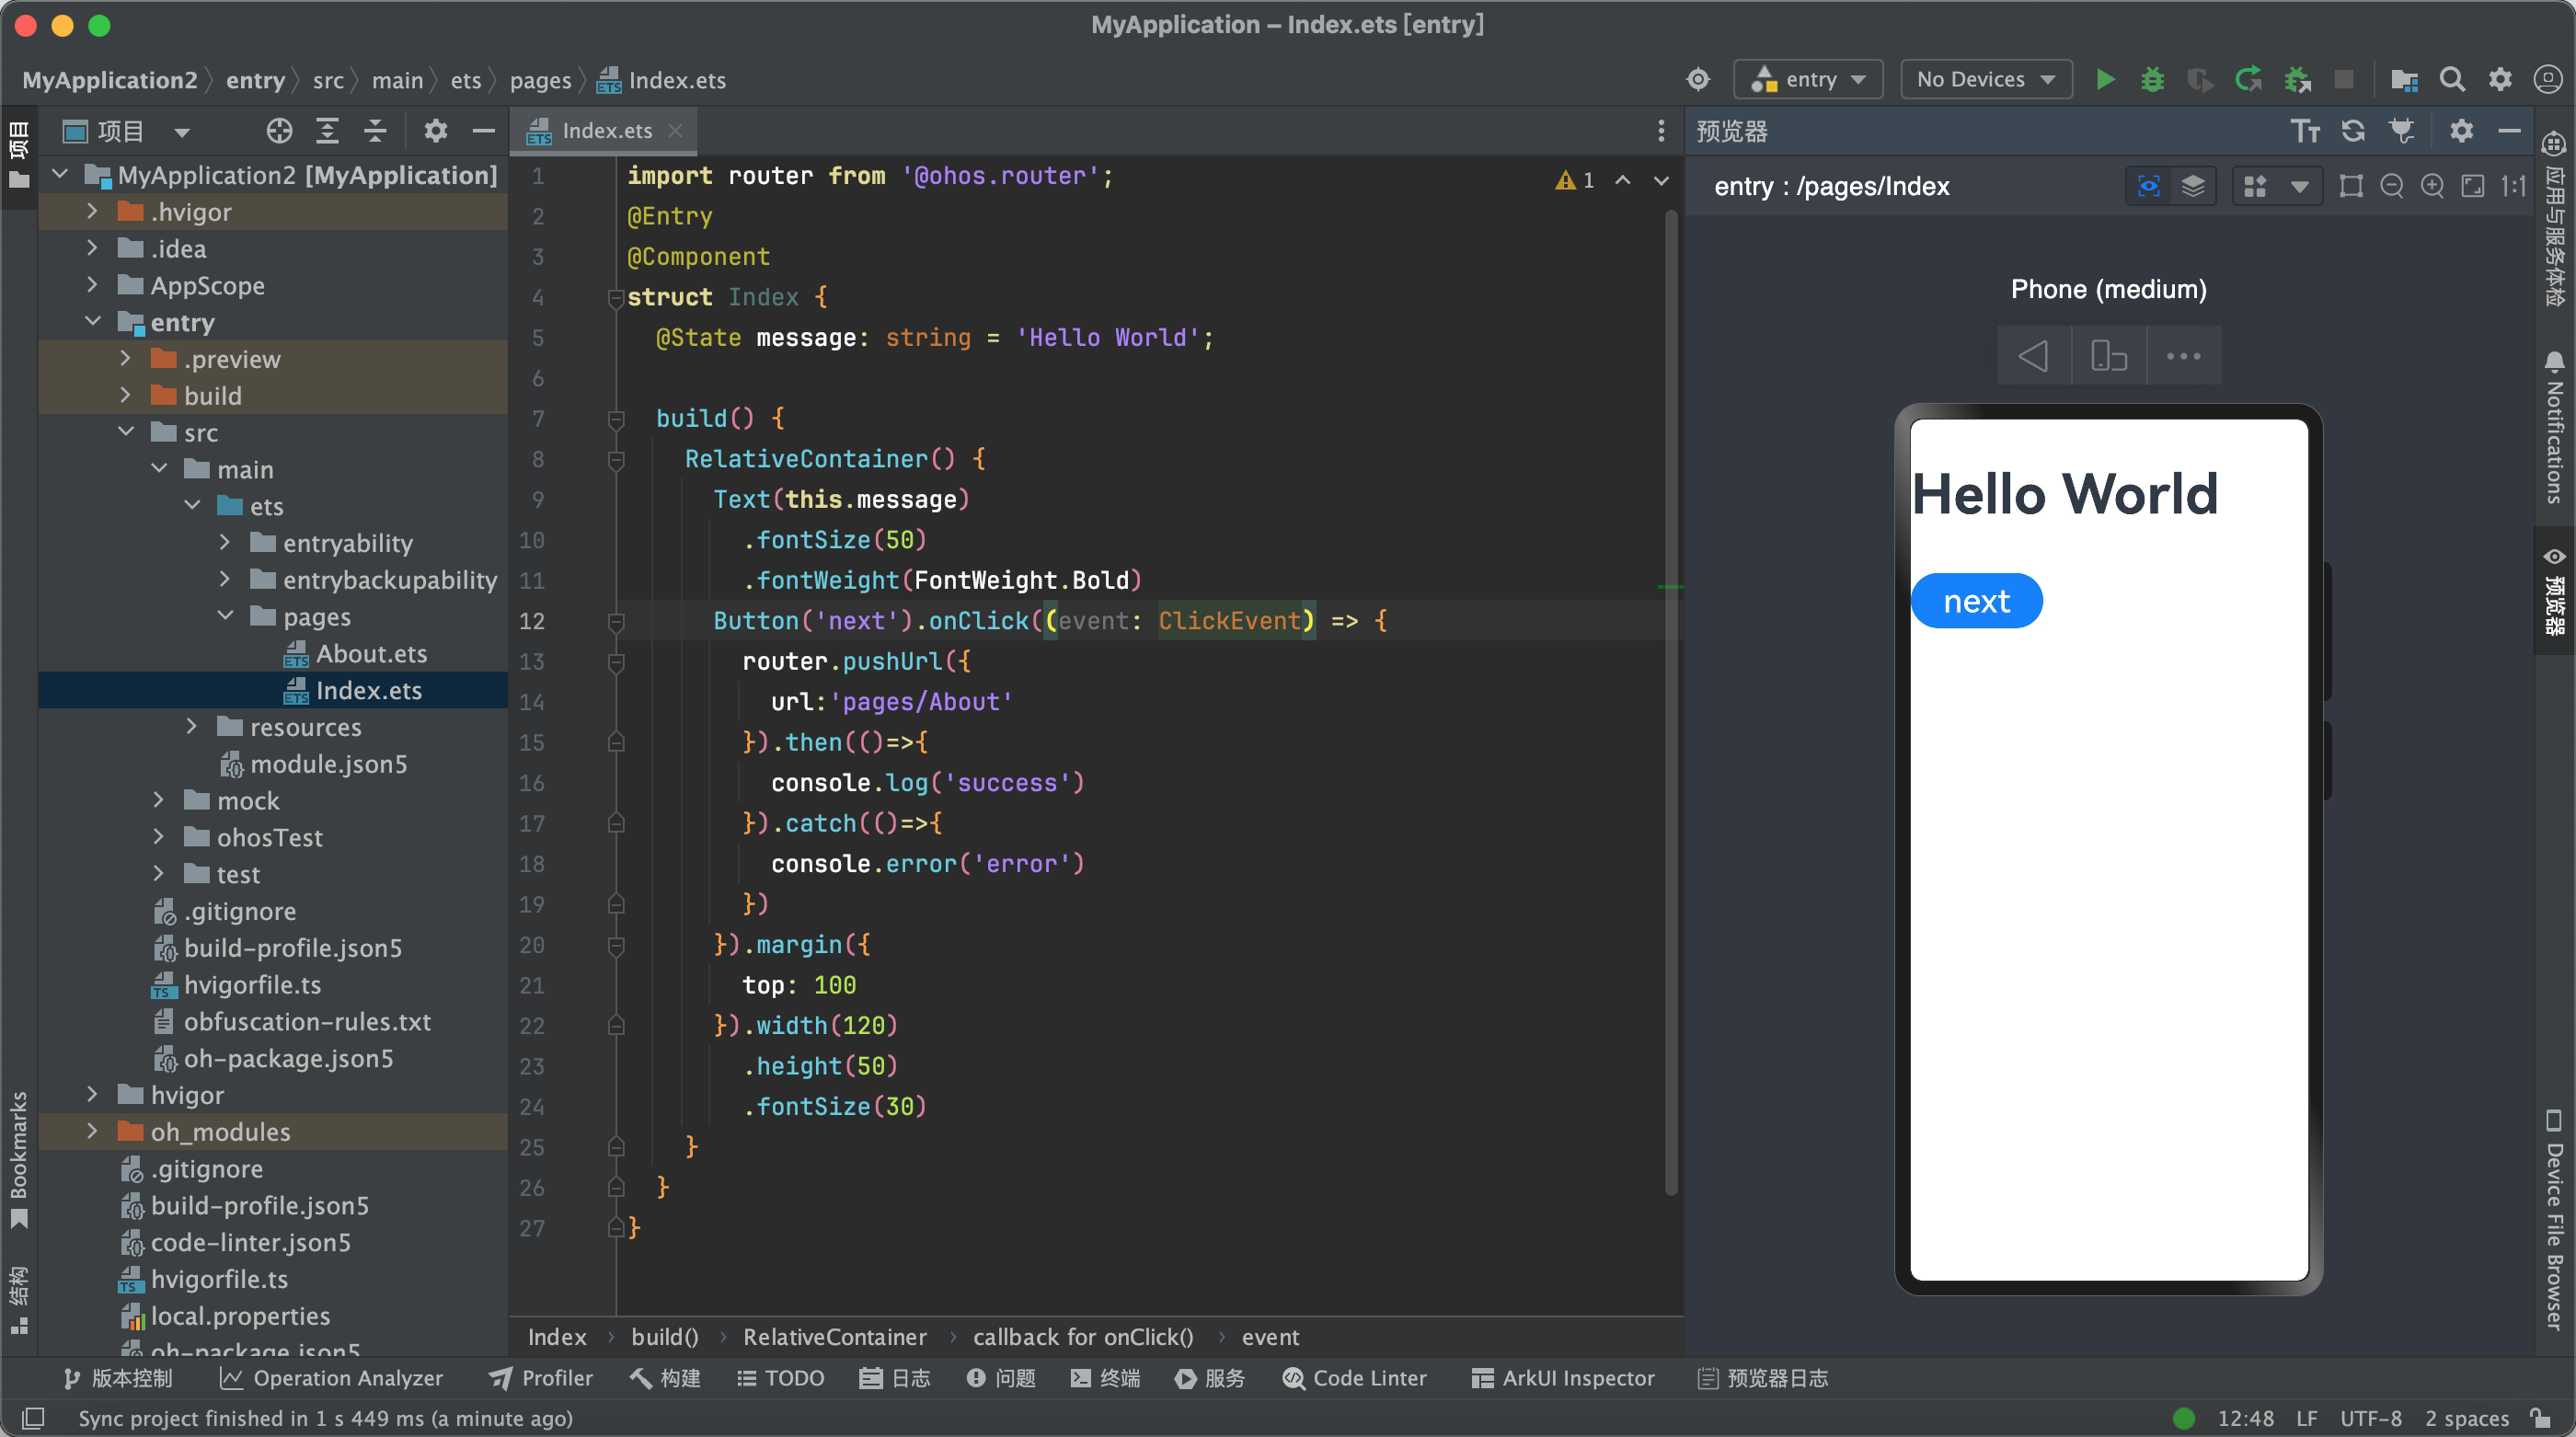
2. 预览页面
选中 src/pages/Index.ets
点击右边的预览器

3. 新建页面
右键 pages 文件夹 =》新建 arkTs 文件
输入文件名称,确定
添加代码
import { router } from '@kit.ArkUI'
@Entry
@Component
struct About {
  @State pageTitle: string = 'demo'
  build() {
    Column() {
      Text('demo').fontSize(50)
    }
  }
}
添加页面访问地址
预览页面
4. 沉浸式开发
import { window } from '@kit.ArkUI';
import { BusinessError } from '@kit.BasicServicesKit';

aboutToAppear(): void {
  window.getLastWindow(getContext())
    .then(win => {
      win.setWindowLayoutFullScreen(true)
    })
}
(二) 编写静态页面
常用 组件(标签)
(1) Row 组件, 相当于行内块级元素
Row 示例 1
Row() {
  Row() {
    Text('1111')
  }.border({ width: 1, color: 'blue' })

  Row() {
    Text('1111')
  }.border({ width: 1, color: 'blue' })

  Row() {
    Text('1111')
  }.border({ width: 1, color: 'blue' })
}.border({ width: 2, color: 'red' }).padding(5)
设置子元素之间的间距
Row({ space: 20 }) {
  Button("第一按钮")
  Button("第二按钮")
  Button("第三按钮")
}
水平和垂直对齐方式
水平排列方式
- FlexAlign.Start:子元素在水平方向首端对齐(默认值)
- FlexAlign.Center:子元素在水平方向居中对齐
- FlexAlign.End:子元素在水平方向尾部对齐
- FlexAlign.SpaceBetween:子元素在水平方向均匀分配,第一个子元素与首端对齐、最后一个子元素与尾部对齐
- FlexAlign.SpaceAround:子元素在水平方向相邻元素之间距离相同,第一个子元素到首端的距离和最后一个子元素到尾部的距离是相邻元素之间距离的一半
- FlexAlign.SpaceEvenly:子元素在水平方向均匀分配,相邻元素之间的距离、第一个子元素与首端的距离和最后一个子元素到尾部的距离都完全一样
垂直对齐方式
- VerticalAlign.Top:子元素在垂直方向顶部对齐
- VerticalAlign.Center:子元素在垂直方向居中对齐
- VerticalAlign.Bottom:子元素在垂直方向底部对齐
 Row() {
      Button("第一按钮")
      Button("第二按钮")
      Button("第三按钮")
    }.width('100%').height(300)
    .border({width:2,color:'red'})
    .justifyContent(FlexAlign.SpaceEvenly)
    .alignItems(VerticalAlign.Top)
(2) column 列
子元素纵向排列
 Column() {
      Row() {
        Text('1111')
      }.border({ width: 2, color: 'blue' })

      Row() {
        Text('1111')
          .borderColor('#ff9d5959')
      }.border({ width: 2, color: 'blue' })

      Row() {
        Text('1111')
      }.border({ width: 2, color: 'blue' })
    }.border({ width: 2, color: 'red' })
    .borderStyle(BorderStyle.Solid)
    .visibility(Visibility.Visible)
水平和垂直对齐方式
- 垂直对齐和Row的水平对齐方式一样设置
- 水平对齐方式用alignItems, 取值有
- HorizontalAlign.Start:子元素在水平方向左对齐(默认值)
- HorizontalAlign.Center:子元素在水平方向居中对齐
- HorizontalAlign.End:子元素在水平方向右对齐
@Entry
@Component
struct Index {
  build() {
    Column() {
      Row() {
        Text('1111')
      }.border({ width: 1, color: 'blue' })

      Row() {
        Text('1111')
      }.border({ width: 1, color: 'blue' })

      Row() {
        Text('1111')
      }.border({ width: 1, color: 'blue' })
    }.border({ width: 2, color: 'red' }).padding(5)
    .height(200).width(100)
    .justifyContent(FlexAlign.SpaceAround)
    .alignItems(HorizontalAlign.End)
  }
}
(3) Text组件, 文本组件
- 文本对齐方式
Column() {
  Text('hello world')
    .textAlign(TextAlign.Start)
    .border({ width: 1, color: 'blue' })
    .width('50%').margin({top: 20})
  Text('hello world')
    .textAlign(TextAlign.Center)
    .border({ width: 1, color: 'blue' })
    .width('50%').margin({top: 20})
  Text('hello world')
    .textAlign(TextAlign.End)
    .border({ width: 1, color: 'blue' })
    .width('50%').margin({top: 20})
}
文本溢出处理
   Column() {
      Text("鸿蒙鸿蒙鸿蒙鸿蒙鸿蒙鸿蒙鸿蒙鸿蒙鸿蒙鸿蒙鸿蒙鸿蒙鸿蒙").textOverflow({
        overflow: TextOverflow.Ellipsis
      }).fontSize(30).fontColor(Color.Black).maxLines(2)
    }
(4) Image 组件, 图片组件
使用网络图片
找到 resources/module.json5 配置文件 增加网络配置项如下, 申请网络权限
"requestPermissions": [ { "name": "ohos.permission.INTERNET" } ]Image('http://fresh.huruqing.cn/img/bg2.78d35cdc.png') .width('100%')使用本地图片
图片放在 ets/img 文件夹里
Image('/img/girl.jpeg')
(5) Flex 弹性盒子
(1 方向设置
Flex({direction:FlexDirection.Row}){
  //1、第一个按钮
  Button('第一个按钮')
  Button('第二个按钮')
  Button('第三个按钮')
  Button('第四个按钮')
  Button('第五个按钮')
}
(2 换行设置
Flex({wrap:FlexWrap.Wrap}){
  //1、第一个按钮
  Button('第一个按钮')
  Button('第二个按钮')
  Button('第三个按钮')
  Button('第四个按钮')
  Button('第五个按钮')
}
(3 主轴对齐方式(默认水平对齐方式)
Flex({wrap:FlexWrap.Wrap,justifyContent:FlexAlign.Start}){
  //1、第一个按钮
  Button('第一个按钮')
  Button('第二个按钮')
  Button('第三个按钮')
  Button('第四个按钮')
  Button('第五个按钮')
}

FlexAlign.Start:子元素在主轴方向首端对齐。(默认值)
FlexAlign.Center:子元素在主轴方向居中对齐。
FlexAlign.End:子元素在主轴方向尾部对齐。
FlexAlign.SpaceBetween:子元素在主轴方向均匀分配。
FlexAlign.SpaceAround:子元素在主轴方向均匀分配,相邻子元素之间距离相同。第一个子元素到主轴首端的距离和最后一个子元素到主轴尾部的距离是相邻元素之间距离的一半。
FlexAlign.SpaceEvenly:子元素在主轴方向元素等间距布局,相邻子元素之间的间距、第一个子元素与主轴首端的距离、最后一个子元素到主轴尾部的距离均相等。
(4 交叉轴的对齐方式(默认垂直对齐方式)
Flex({alignItems:ItemAlign.Auto}){ //使用 Flex 容器中默认配置。
Button("第一个按钮")
Button("第二个按钮")
Button("第三个按钮")
Button("第四个按钮")
(5 剩余空间分配
Flex(){
	Button("第一个按钮").flexGrow(1)
  Button("第二个按钮").flexGrow(2)
}
(6) 绝对定位
Row() {
  Text('1111').position({ x: 10, y: 10 })
}.border({ width: 1, color: 'blue' })
  .width(100).height(100)
